Greenbone on Proxmox
I want to run a vulnerability scanner from my Proxmox instance. Greenbone provides a solution, but its native format is meant for VirtualBox or VMware. In this blog, we are going to upload the OVA image to Proxmox and adjust it to be compatible with our system.
Requirements:
- Proxmox with SSH access
Software
- Greenbone virtual box
- OVA image
Outcomes
- Understanding of vulnerabilities in your environment
- VM appliance running on proxmox environment (Offloading from desktop environment)
Step #1: Translate to OVA
Download a copy of the Greenbone OVA image on the internet
https://www.greenbone.net/en/openvas-free
You need to copy the ova image over to proxmox using scp
scp Greenbone-Enterprise-TRIAL-24.10.2-VirtualBox.ova root@[Enter your IP]:/var/lib/vz/
Navigate to your proxmox host shell
cd /var/lib/vz
tar -xvf Greenbone-Enterprise-TRIAL-24.10.2-VirtualBox.ova
Now go create a new VM within Proxmox. When you get to the OS and hard drive, do not add any media type.

Go back to your proxmox disk and run the following command to import the hard drive
qm importdisk 102 qm importdisk 102 Greenbone-Enterprise-TRIAL-24.10.2-VirtualBox-disk001.vmdk local-lvm
Now attach the disk to the Virtual Machine
qm set 102 --scsihw virtio-scsi-pci --scsi0 local-lvm:vm-103-disk-0
Set boot order correctly
qm set 102 --boot order=scsi0
Set BIOS mode to UEFI
qm set 102 --bios ovmf
qm set 102 --efidisk0 local-lvm:0,format=raw
Start the machine
qm start 102
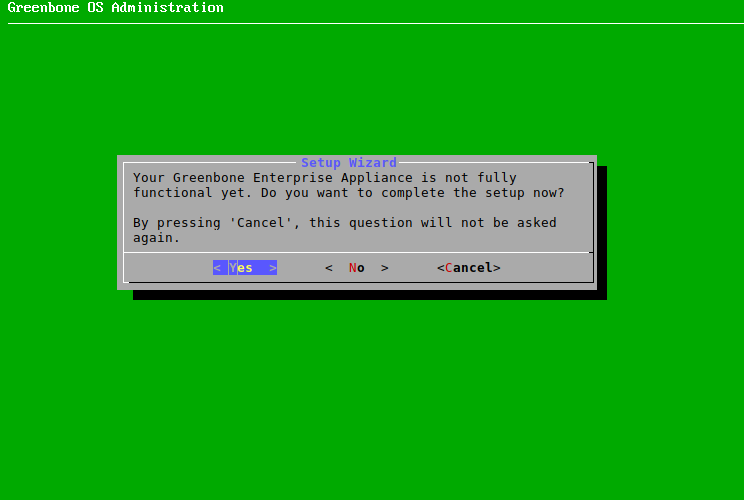
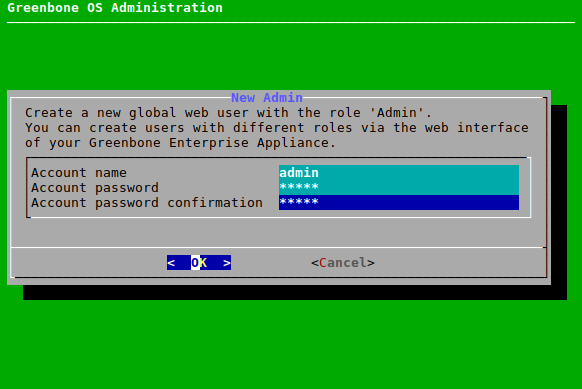
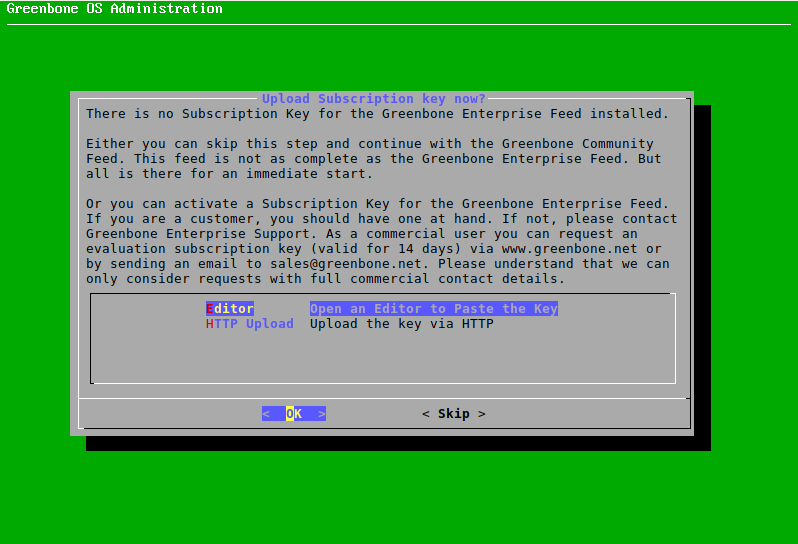
Step #2: Configure the VM
Login to the VM using admin:admin and you will find a configuration wizard
Create a user
Just select skip unless you are going to use the enterprise appliance
Step #3: Login and run a new scan
Now navigate to your web broswer interface and type in the IP address of the Greenbone appliance
Log in with the credentials you created during the setup process
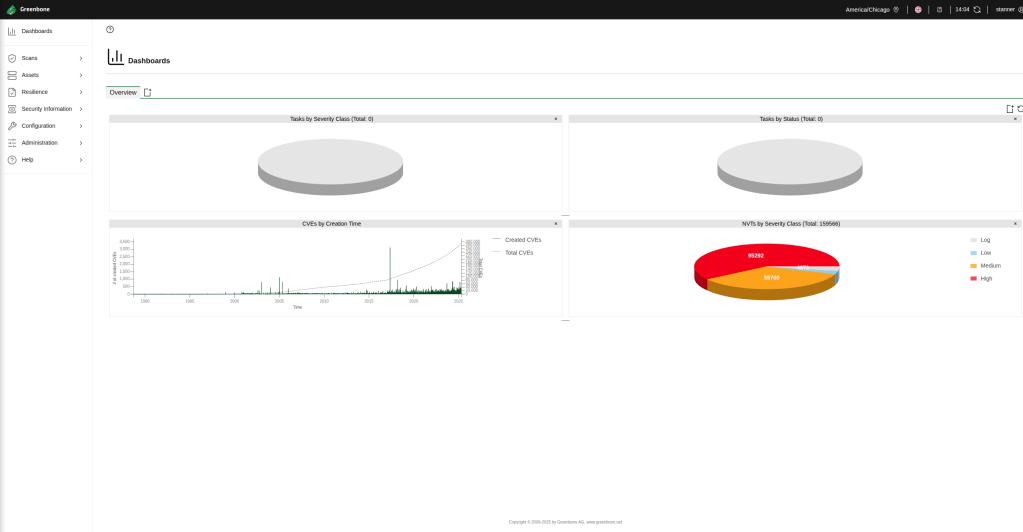
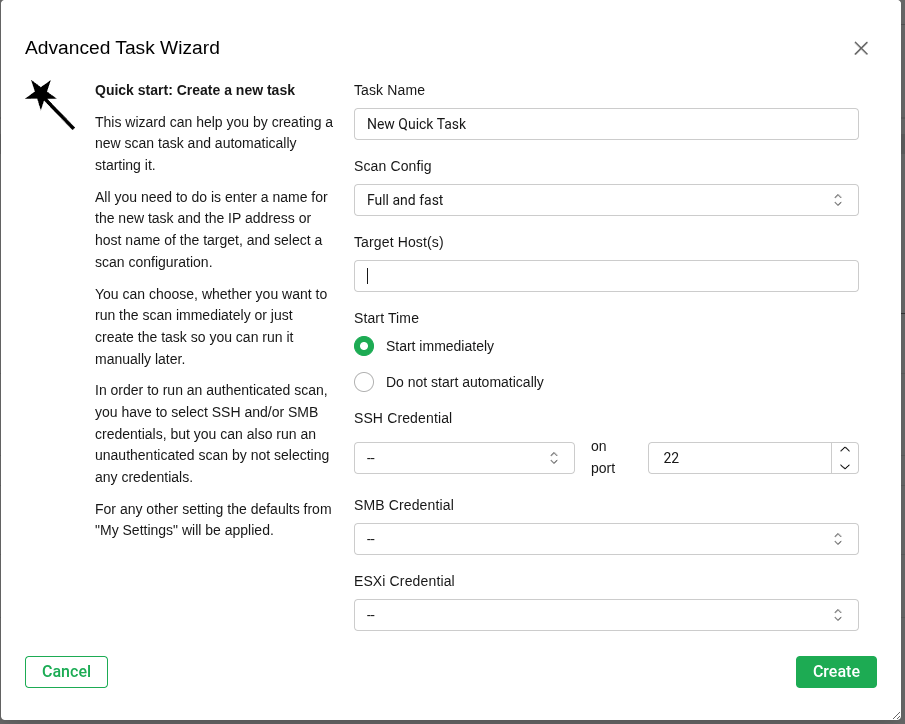
You can start a quick scan by going to the scan tasks advanced task wizard (The wand in the top left corner) typing an IP or LAN subnet and starting the scan
After the scan is complete, you can review it’s results by going to scan > reports
